Kabod Artistry

Splendor. Excellence. Beauty. YOU!

The Makeup Drawer- Lash Out!!!

You’ll be a pro in no time. Trust me.

Lash OUT!

Are you the drama? You can be with a gorgeous pair of lashes!


I am about to start off with some of the saddest news ever. It’s going to take you about 10-15 tries to put on a lash. I know, I’m sorry. Ask me how many times have I; yes, the pro, put on a lash and it gave me all types of heck. It happens to us all. So, friend, I want you to go dig through your makeup drawer and reach for those falsies. You are about to be in for the ride of your life.


False eyelashes are a fantastic way to accentuate your eyes and enhance your overall makeup look. However, as a beginner, getting those falsies on seamlessly can seem like a daunting task. Don't worry, though — with a bit of practice and my helpful tips, you'll be a pro at applying false eyelashes in no time!

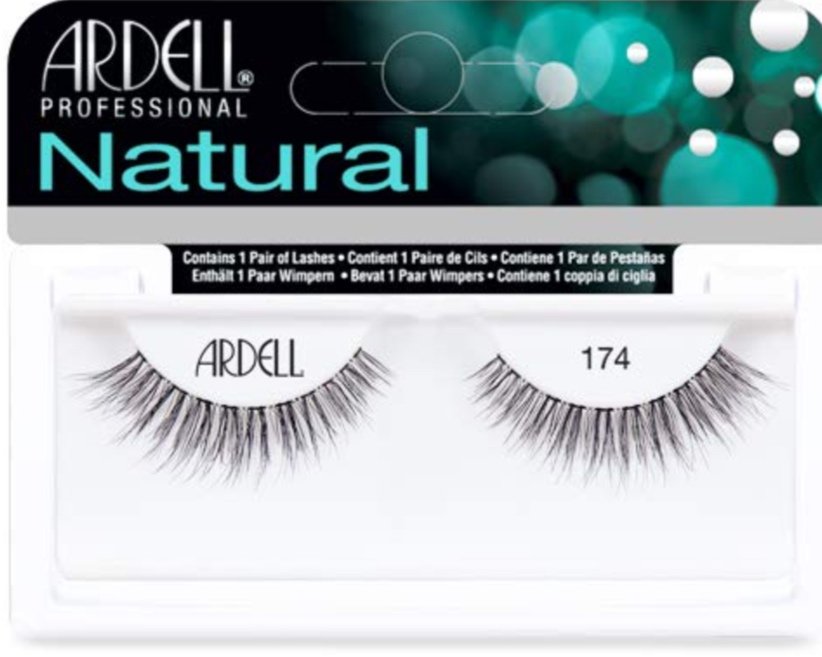
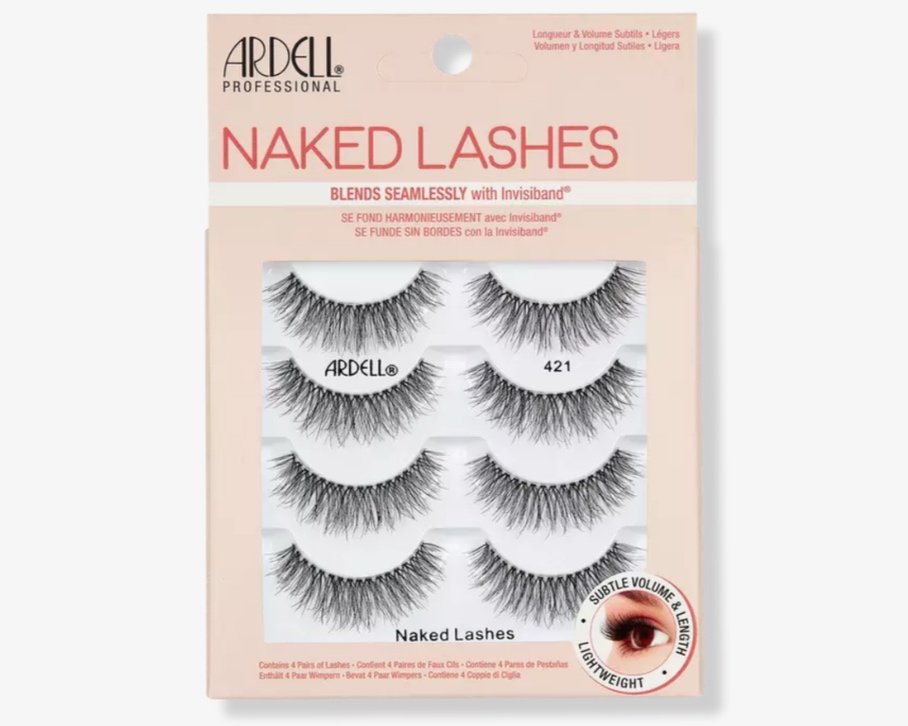
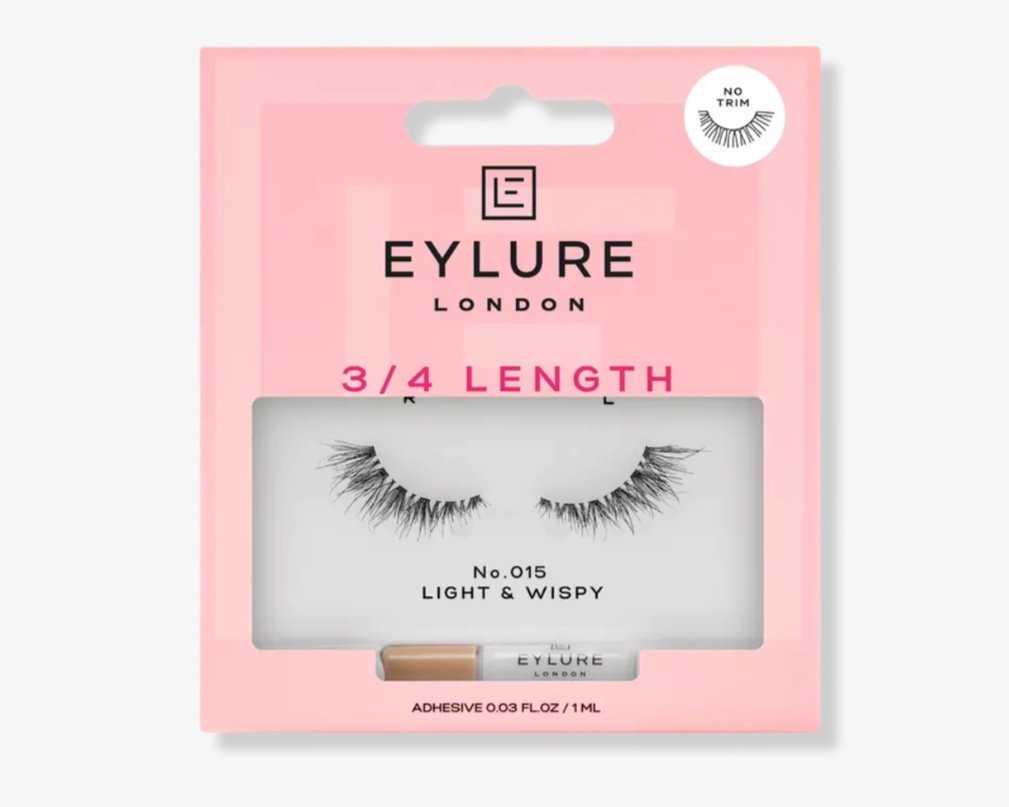
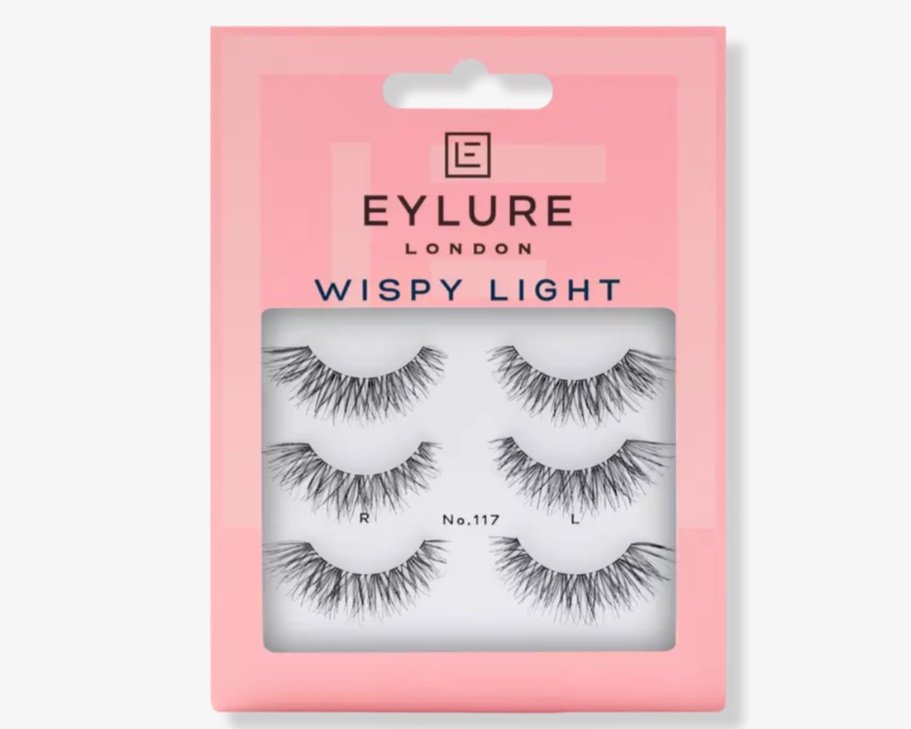
1. Choose the Right Set of False Eyelashes

Before anything else, it's crucial to choose the right pair of false lashes for your eye shape and desired look. Consider the length, volume, and style that will complement your natural lashes and eye shape. From natural-looking lashes for everyday wear to dramatic ones for special occasions, the options are endless.

2. Trim the Lashes to Fit

False eyelashes usually come in a standard length, but it's rare that they'll perfectly fit your eye shape right out of the box. Prior to application, measure the lash strip against your natural lash line and trim any excess from the outer corner if needed. This ensures that your lashes look natural and feel comfortable throughout the day.

3. Prep Your Natural Lashes

To ensure a seamless blend between your natural lashes and false ones, start by curling your lashes and applying a coat of mascara. This helps create a sturdy base and ensures that your real lashes won't be overshadowed by the falsies.

4. Apply the Glue Correctly

Use a high-quality lash adhesive and apply a thin layer along the band of the false eyelashes. Allow the glue to become tacky for about 30 seconds before applying the lashes. Remember, patience is key here; applying the lashes too quickly can result in them slipping and sliding around. Callas Lash Glue is my absolute favorite glue to use. It’s waterproof and latex-free.

5. Position and Secure the Lashes

Using tweezers or your fingertips, place the false lashes as close to your natural lash line as possible. Start by attaching the outer corner of the falsies and gently press down towards the inner corner. Once in place, give them a gentle pinch with your fingers to secure them firmly. A handy trick is to make sure the inner corner is neatly aligned with the inner corner of your eye.

6. Blend and Touch Up

After attaching the lashes, give them a final pinch with your natural lashes using the curler. This helps merge the falsies and your real lashes, creating a seamless look. If needed, you can also apply another coat of mascara to blend everything together.

7. Remove with Care

When it comes to removing false eyelashes, be gentle to prevent damaging your natural lashes. Start by soaking a cotton pad with an oil-based makeup remover and hold it over the lashes for a few seconds to loosen the adhesive. Then, gently pull the lashes off from the outer corner, ensuring you don't tug or pull on them. (Secret removal technique: Don’t have makeup remover? Take a bit of coconut or olive oil (not too much) on the end of a q-tip and gently rub along the top where the lash meets the skin. Let it sit for a few, then gently remove.)


Remember, practice makes perfect! False eyelash application might take a few tries before you get the hang of it, so don't get discouraged. With time, you'll find the technique that works best for you, and soon enough, you'll be rocking those falsies with confidence! I hope this helps! -Your Makeup Travel Guide

Here is a mini lash tutorial that will help along the way.

The Makeup Drawer- A Little Red Lip Won't Hurt!

It’s that time of year where you and your honey or your gal-friends are about to hit the holiday streets this month. Black dress, check! Stilettos or rhinestone flats, check! Glam clutch, check! Time to do your makeup and you are eyeballing that red lipstick you friend talked you into getting three months ago. “Should I wear it? Am I too dark to wear red?” You continue to ruminate over the next ten mins on what you should do. Well, let’s make a decision. To the makeup drawer we go!

Read More

The Makeup Drawer- Oh Blush, Chile!

Go look in your makeup drawer now! Is there blush in there??? Take it out and let’s try it!

Oh Blush, Chile!

I absolutely love blush and how it really ties the entire look together. It’s gives the look of life, happiness and youth. If you are an 80’s baby like me, you may remember Cyndi Lauper, Grace Jones, Madonna, and Whitney Houston rock the big hair, colorful eyeshadow that reached far into the heavens, and the pinkiest of the pink blush! Although most of us wouldn’t dare to wear something that bold, you can wear variations pink, orange, or red regardless of your skin color. Today, we have so many choices of blush. Which one do we choose?? Do I go pink or should I stick to complexion colors? Let’s explore! So without further delay, let’s dig through your makeup drawer!


Many women that have had their makeup done at their local MAC counter have walked away with the cult favorite blush “Razin”. It is a beautiful a red-brown with a hint of “golden" undertones. It’s a very safe color to say the least since it leans more on the side of what I call ‘skin-tone blush’. Another gorgeous skin-tone blush I adore by MAC is ""Coppertone" (not shown). Coppertone is a peachy-brown color that is great for medium-skin tones and will gently warm up any look. Brighter colors are a bit scary and I totally understand! These colors will still give you the perfect blushed look you are looking for.

Smile and Say “Peaches”!

Hear me out, ok?! Peach. Toned. Blush!! If you have this color in your makeup drawer, consider yourselves blessed! This is my absolute favorite color blush to put on ALL types of skin tone, especially darker tones. Speaking of darker skin tones, we don’t “blush” like those with lighter skin. Lighter complexions have “red” or “pink” hues when they blush. On medium-dark to dark complexions, red and brown yields more of an orange-y color on the cheeks. This is why a beautiful peach would bring balance and a more natural look. If you don’t have a peach blush in your arsenal, may I recommend “Marron Peach” by Marena Beauté. Talk about chef’s kiss! For my ladies who have light to medium skin tones, MAC Cosmetic’s “Peaches” will give you the perfect sheer wash of color without giving you an orange-y swoosh. This blush is a sheer to light coverage that is buildable and blendable.

The Neons…

If you picked this up by mistake and wasn't sure that you were ever going to use it again, then you are sadly mistaken. These are the scary colors that I was talking about before. Bright colors are definitely used for the more editorial look you see in the magazines, but I am here to tell you that you have the ability to wear those bright, gorgeous colors. Deep dark skin completions are the perfect canvas for these colors as they bring these colors to life. Neon colors on top of dark skin enhances the tone of the blush. I have in my drawer the “Barbados” Blush palette from Stillazi that is my go-to for my neons and if you need to go lighter than that, try their “Bahamas” palette (Stillazi).

Buy, then try!

Let’s give it a try to see if this blusher works for you

Let’s Give it a Try

I wouldn’t be a good Beauty Tour Guide if I didn’t give you tips on how to apply blush, right?? I am going to give you very simple keys to applying blusher with just a couple of simple techniques. One thing we as women do is we never pay attention to how much we “load” or put product on our brushes. Many women dig and swirl around their brushes in the blush until they see pink and they directly apply. This will cause you to look clownish, or cartoon-like when you have visibly, heavily-pigmented cheeks. Remember less is more when it comes blush. Load the tip your brush with one or two good swipes, no digging. Gently tap the brush to remove excess product and apply by gently tapping the cheeks. I love using the tapping motion as it directly places the blush where I need to go. Be sure follow up with a gentle sweeping motion to blur any lines of demarcation. The shorter side bristles of the brush will diffuse any harsh lines, if any. Do this until you feel comfortable with the amount of blush you’ve added. If you find that you have added too much blush to your cheeks, simply take a small bit of translucent or your personal face powder and go over the area that is the brightest. Be careful as to not use too much of your face powder as it could muddy the look of your blush. Begin to take notice of blush placement as you apply the product. Knowing your face shape will help you in applying blusher and help accentuate your cheekbones. Below I’ve found a face chart guide that shows you were to put blush according to your face shape. Which shape are you?

Getting Cheeky…

You are going to see what a difference blush makes in elevating your look. Something that small adds so much potential to a look. Take time to go through your makeup drawer and test which blushes you like and if you do not have any, add that to your list of things to get from your local beauty store. Remember, if you aren’t satisfied with your choice, you can always take it back.

Happy Blushing! - Mel

Copyright © 2024.  Kabod Artistry, LLC.   All Rights Reserved.